
 Mark
Mark
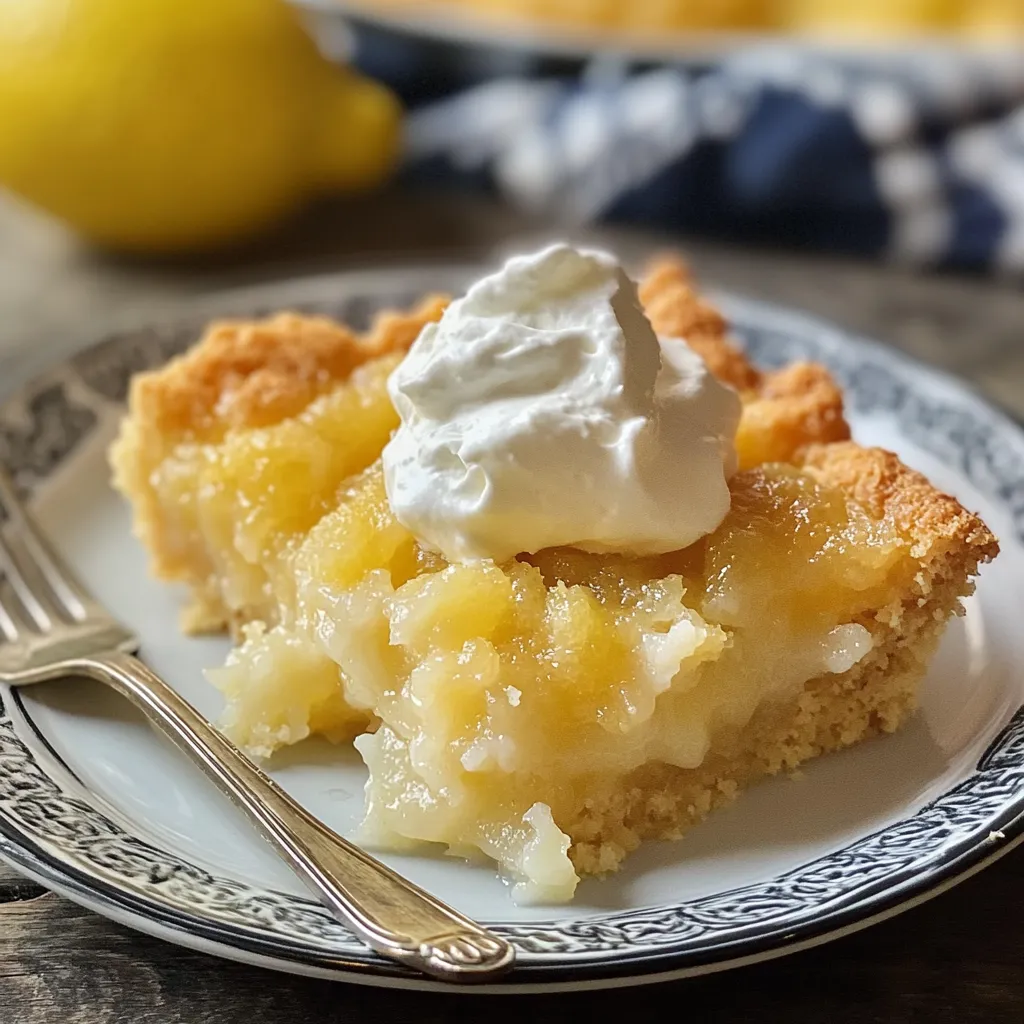
This magic lemon cobbler transforms simple pantry ingredients into a dazzling dessert as the tangy lemon filling and buttery cobbler batter create perfectly contrasting layers during baking.
I first discovered this recipe during a summer gathering when I needed something impressive but effortless. The looks on everyone's faces when they realized the magic happening in their dessert bowls made this an instant family tradition for Sunday dinners.
Ingredients
- All purpose flour: creates the perfect tender cobbler base
- Buttermilk: adds tanginess and helps create the fluffy texture
- Unsalted butter: provides richness and helps form the golden crust
- Lemon pie filling: delivers bright citrus flavor without the work of fresh lemons
- Lemon extract: optional but amplifies the citrus notes beautifully
- Vanilla extract: balances the tangy lemon with warm aromatic notes
- Granulated sugar: sweetens without overwhelming the lemon flavor
- Baking powder: ensures the cobbler rises beautifully as it bakes
Step-by-Step Instructions
- Prepare the Baking Dish:
- Start by preheating your oven to 350°F. Take your stick of butter and place it directly in your 9x9 baking dish. The dish goes into the preheated oven for about 3 to 4 minutes until the butter is completely melted. The melted butter will form the base for your cobbler and help create that magical texture. Be careful not to brown the butter unless you want that nutty flavor.
- Mix the Dry Ingredients:
- While the butter melts, whisk together your flour, baking powder, salt, and sugar in a medium bowl. Mix thoroughly to ensure the baking powder and salt are evenly distributed throughout the flour. This creates the foundation for your cobbler batter that will rise and form the cake like top.
- Add Wet Ingredients:
- Pour the buttermilk, vanilla extract, and lemon extract if using into your dry ingredient mixture. Whisk until you have a smooth, pourable batter with no lumps. The batter will seem quite loose compared to cake batter this is exactly what you want for the cobbler magic to happen during baking.
- Layer the Components:
- Remove your baking dish with the melted butter from the oven. Pour the batter directly over the melted butter. This is crucial DO NOT STIR the batter into the butter. The separation is what creates the distinct layers. Next, carefully spoon the lemon pie filling evenly over the batter. Again, resist the urge to mix it will create its own beautiful swirls as it bakes.
- Bake to Perfection:
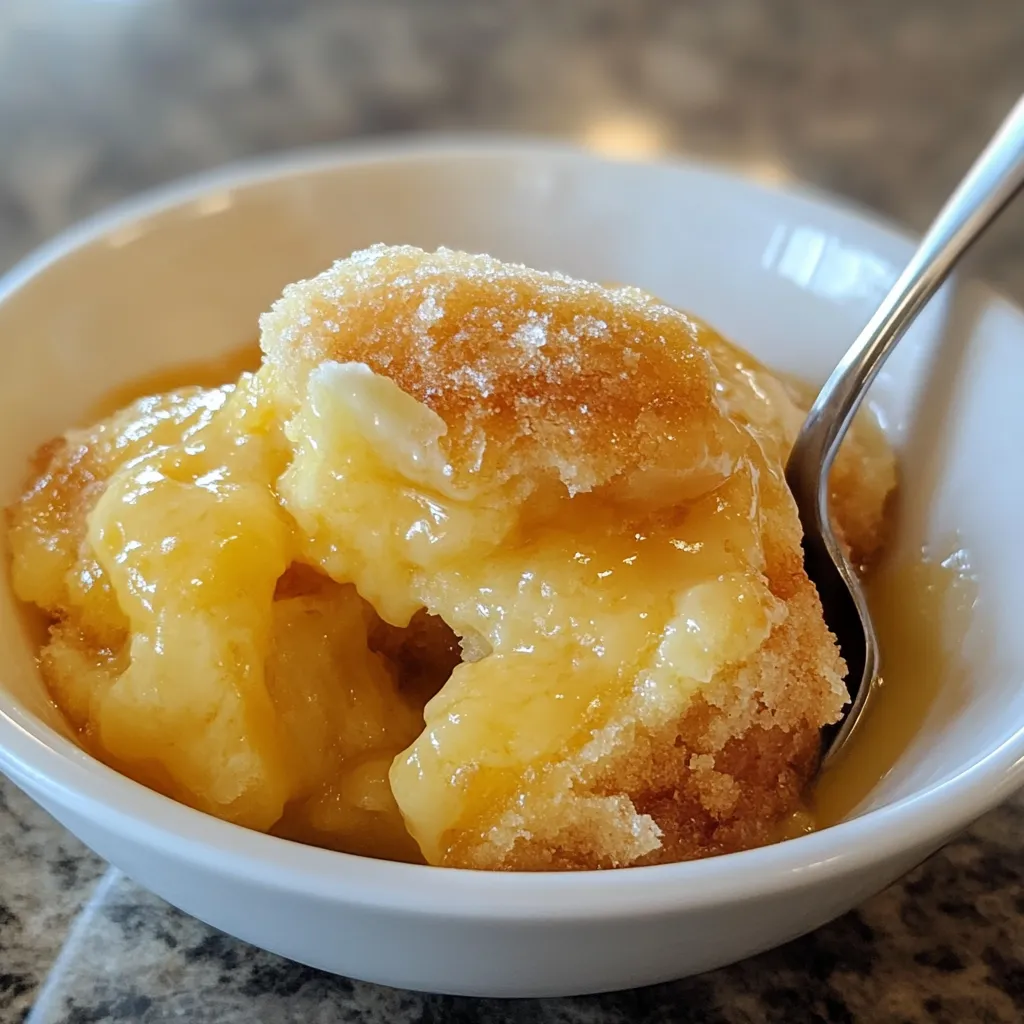
- Place your layered creation in the preheated oven and bake for 45 to 55 minutes. You will know it is done when the edges are golden brown and the center is puffed up but still has a slight jiggle. The top will form a beautiful golden crust while underneath, the lemon filling will have created a pudding like sauce.
- Cool and Serve:
- Allow the cobbler to cool slightly for about 10 minutes before serving. This cooling time allows the layers to set properly and prevents burning your mouth on the molten lemon filling. The dessert is best served warm when the contrast between the cake like top and pudding bottom is most pronounced.
The lemon pie filling is truly the star ingredient here. While homemade lemon curd can be substituted, I find the convenience of canned filling makes this dessert accessible for even the busiest weeknights. My grandmother used to make a version of this with her homegrown Meyer lemons, and the aroma would fill her entire house before Sunday dinner.
Storing Your Cobbler
This magic lemon cobbler keeps remarkably well in the refrigerator for up to 4 days. Cover it tightly with plastic wrap or transfer leftovers to an airtight container. The texture does change slightly as it chills the cake layer becomes more dense and the lemon layer thickens. To reheat, place individual portions in the microwave for 20 to 30 seconds or warm the entire dish in a 300°F oven for about 15 minutes until heated through.
Smart Substitutions
If buttermilk is not available, you can easily create a substitute by adding 1 tablespoon of white vinegar or lemon juice to a cup of regular milk and letting it sit for 5 minutes before using. For a dairy free version, use plant based milk with the acid addition and substitute vegan butter. The lemon pie filling can be swapped for other fruit fillings like blueberry or cherry for completely different flavor profiles while maintaining the magical layering effect.
Serving Suggestions
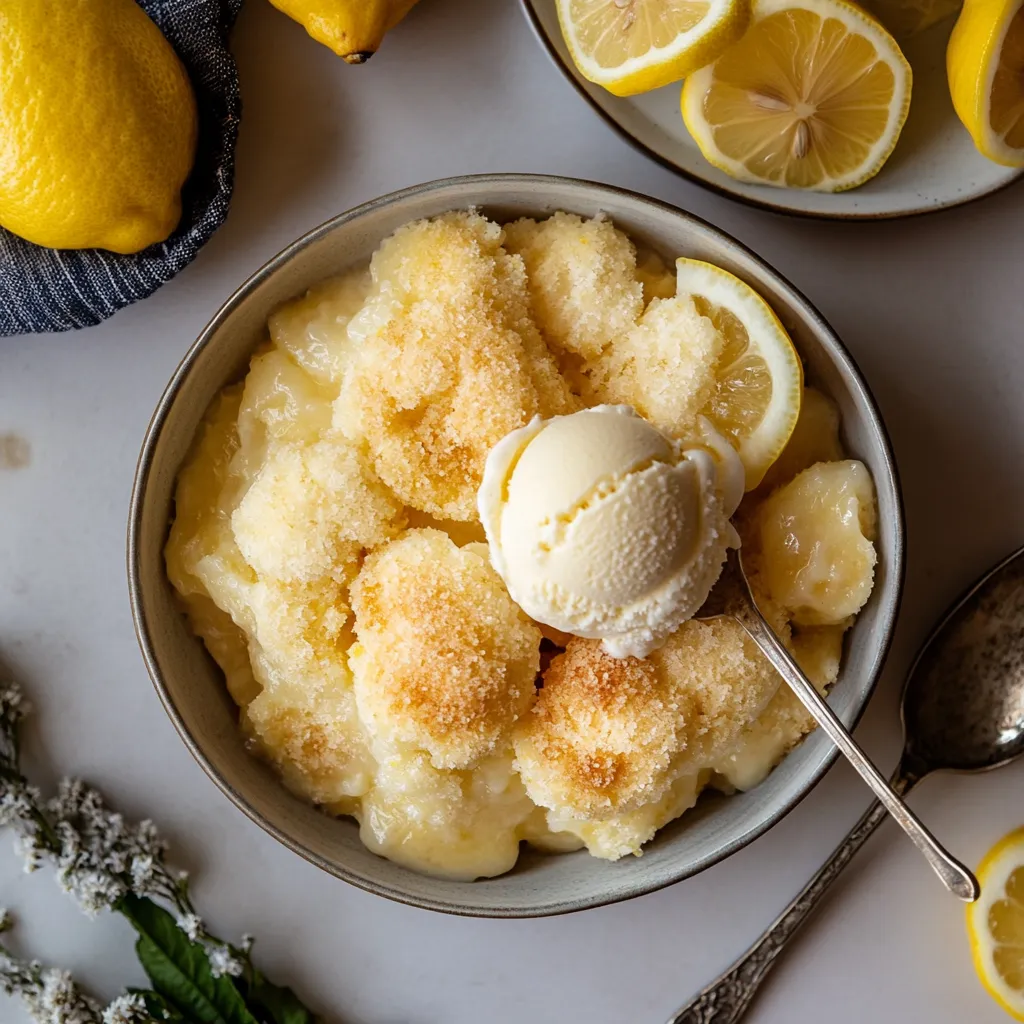
While this cobbler is delicious on its own, it reaches new heights when paired with the right accompaniments. A dollop of freshly whipped cream cuts through the tangy lemon perfectly. For special occasions, serve with high quality vanilla ice cream that slowly melts into the warm cobbler. A light dusting of powdered sugar adds both visual appeal and a touch of sweetness. In summer months, add fresh berries alongside for a beautiful color contrast and complementary flavor.
The Science Behind the Magic
What makes this cobbler truly special is the fascinating chemistry that happens during baking. The heavy butter and flour mixture sinks to the bottom while the lighter lemon topping rises. As everything bakes, the flour mixture creates a cake like layer on top, pushing some of the lemon filling to the bottom where it combines with the remaining butter to create a luscious sauce. This happens because of density differences in the components and the way heat travels through the dish during baking.
Questions About Recipes
- → Can I use lemon curd instead of pie filling?
Yes, lemon curd works perfectly as an alternative to pie filling, offering a similar tangy-sweet flavor.
- → Can I substitute buttermilk with regular milk?
Yes, whole milk can be used instead of buttermilk, though buttermilk adds a slightly tangier flavor and tender texture.
- → What toppings pair well with the cobbler?
Whipped cream, vanilla ice cream, powdered sugar, or lemon slices are all excellent options to elevate the dish.
- → How do I know when the cobbler is done?
The cobbler is ready when the top is golden brown, puffed, and the edges appear set, typically after 45-55 minutes of baking.
- → Can I make this dessert ahead of time?
Yes, but it's best enjoyed warm. You can reheat portions in the oven or microwave before serving.