
 Mark
Mark
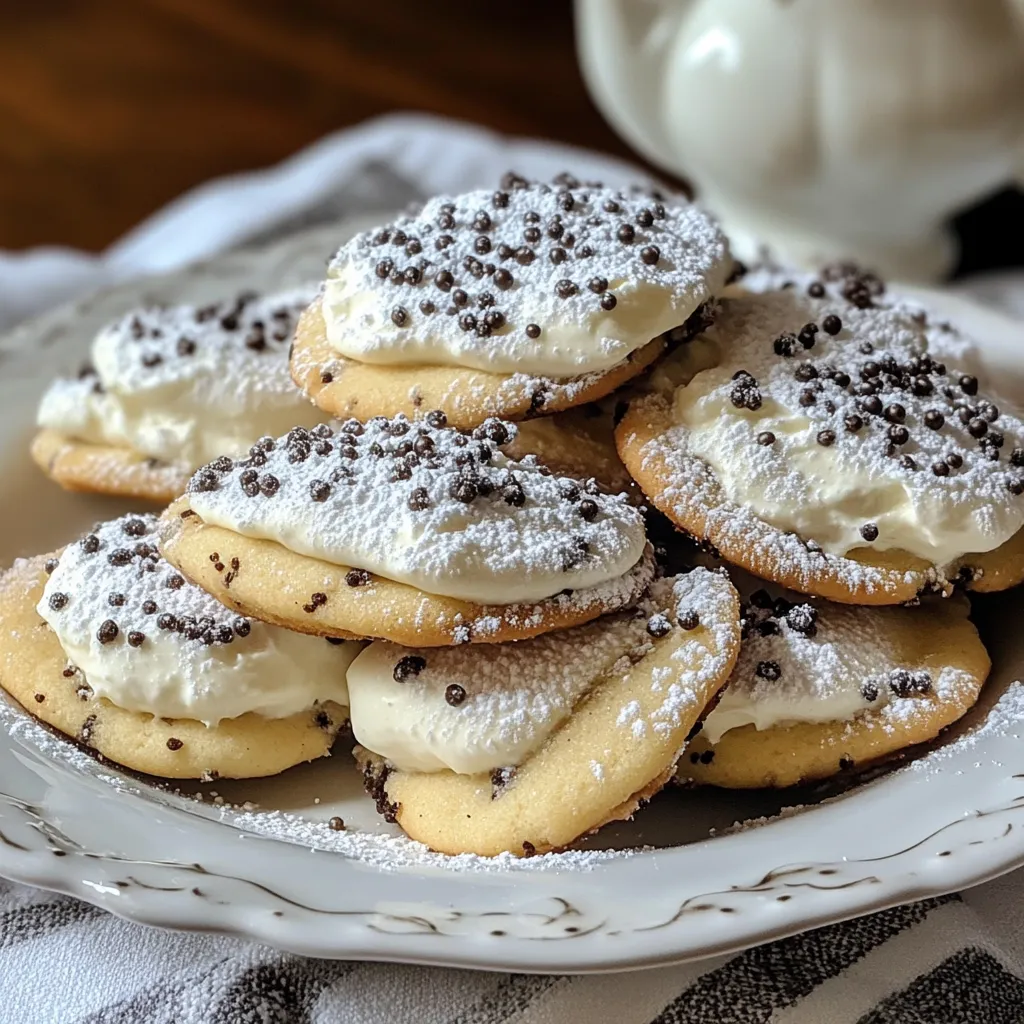
This cannoli cookie recipe transforms the classic Italian dessert into convenient hand-held treats that capture all the flavors of traditional cannoli in cookie form. Each bite delivers the perfect balance of a soft chocolate chip cookie base with a creamy ricotta filling that will transport you straight to an Italian bakery.
I created these cookies for my family's annual Christmas cookie exchange, and they've become the most requested treat year-round. My Italian grandmother even declared them a worthy modern tribute to her traditional cannoli recipe.
Ingredients
- Salted butter: The fat creates tenderness and richness in the cookie base
- White and brown sugar: The combination provides both sweetness and moisture
- Eggs: They bind everything together and provide structure
- Vanilla extract: Adds warmth and depth to the cookie flavor
- All-purpose flour: The foundation of our cookie structure
- Baking soda: Creates the perfect rise and texture
- Salt: Enhances all the flavors and balances sweetness
- Mini chocolate chips: They distribute more evenly throughout both cookie and filling
- Whole milk ricotta: The star ingredient that creates an authentic cannoli flavor
- Powdered sugar: Creates a smooth sweetness in the filling without grittiness
- Cinnamon: A traditional cannoli flavor that adds warmth and character
Step-by-Step Instructions
- Strain the ricotta:
- Place half the ricotta in a cheesecloth. Twist gently and squeeze firmly to remove as much liquid as possible. This step is crucial for a thick filling that won't make your cookies soggy. Repeat with remaining ricotta until all liquid is removed.
- Prepare the filling:
- Combine the strained ricotta with powdered sugar, mini chocolate chips, and cinnamon in a bowl. Mix thoroughly until smooth and evenly combined. The filling should be thick but spreadable. Set aside while preparing the cookie dough.
- Cream the butter and sugars:
- Beat the softened butter in a stand mixer or large bowl until light and fluffy, about 2 minutes. Add both white and brown sugars and beat for another 3 minutes until the mixture looks pale and creamy. This incorporates air for a tender cookie.
- Add wet ingredients:
- Add eggs and vanilla to the butter mixture and beat until fully incorporated and noticeably lighter in color. This should take about 2 minutes on medium speed.
- Incorporate dry ingredients:
- Add flour, baking soda, and salt to the mixture. Mix on low speed just until combined. Overmixing at this stage can develop too much gluten, resulting in tough cookies.
- Add chocolate chips:
- Fold mini chocolate chips into the dough until evenly distributed throughout. The mini size ensures good distribution and better texture in each bite.
- Shape the cookies:
- Roll the dough into balls approximately 2 tablespoons in size. Place on a parchment-lined baking sheet with at least 2 inches between each cookie. Press the center of each cookie with your thumb or the back of a teaspoon to create a well for the filling.
- Fill the cookies:
- Spoon about 1 tablespoon of the ricotta filling into the center well of each cookie. The indentation should be deep enough to hold the filling without overflowing.
- Chill the cookies:
- Refrigerate the filled cookies for 30 minutes. This helps prevent spreading during baking and allows the flavors to meld together.
- Bake to perfection:
- Bake at 350°F for exactly 14 minutes until edges are set but centers remain slightly soft. The filling should be set but still maintain its creamy texture.
- Cool completely:
- Allow cookies to cool completely on the baking sheet. Moving them too early can cause them to break or the filling to spill.
- Dust and serve:
- Sprinkle with powdered sugar just before serving for that classic cannoli finish and visual appeal.
My grandmother insists that the secret to these cookies is using whole milk ricotta rather than part-skim. She says the higher fat content creates that authentic cannoli creaminess that makes these cookies so special. Every time I make these cookies, it brings back memories of making traditional cannoli with her in her tiny kitchen, our hands covered in flour.
Make-Ahead Options
These cannoli cookies work beautifully as a make-ahead dessert. You can prepare the dough up to three days in advance and keep it refrigerated. Simply bring it to room temperature for about 30 minutes before shaping. The ricotta filling can also be made a day ahead and kept refrigerated. This makes them perfect for holiday baking when time is limited. Just assemble and bake when you're ready.
Common Substitutions
The beauty of these cannoli cookies lies in their adaptability. For a dairy-free version, substitute the butter with a plant-based alternative and use a dairy-free cream cheese instead of ricotta. For a different flavor profile, add orange zest to the filling for a bright citrus note that complements the chocolate wonderfully. You can also swap the mini chocolate chips for pistachios or dried cherries for a different take on the classic.
Serving Suggestions
These cookies make a stunning addition to any dessert table. Arrange them on a tiered serving platter dusted with powdered sugar for an elegant presentation. They pair beautifully with coffee, especially espresso or cappuccino, enhancing their Italian heritage. For a special dessert, serve them alongside a small glass of Vin Santo or other sweet dessert wine. During the holidays, they make a gorgeous addition to cookie platters and exchanges.
The Italian Connection
Traditional cannoli originated in Sicily, where they were originally prepared for Carnevale celebrations. The name comes from the Italian word "canna" meaning reed, as the original cannoli shells were formed around sugar cane reeds. These cookies honor that tradition while making it accessible for home bakers without specialized equipment. The combination of creamy ricotta filling and chocolate chips stays true to classic cannoli flavors while transforming them into a convenient cookie format that captures the essence of Italian dessert tradition.

Questions About Recipes
- → How do I strain ricotta for the filling?
Place the ricotta in cheese cloth, twist it, and gently squeeze out excess liquid. Ensure it's thoroughly strained to avoid a soggy filling.
- → Can I use regular chocolate chips instead of mini ones?
Yes, regular chocolate chips can be substituted if desired. Mini chips help distribute the chocolate more evenly.
- → How should I store the cookies?
Store the cookies in an airtight container in the fridge for 3-4 days. You can also freeze them and thaw them in the fridge when ready to eat.
- → What equipment do I need to make this?
A cheese cloth for the ricotta, a baking sheet, and optionally a stand mixer for easier mixing.
- → Why do I need to chill the cookies before baking?
Chilling helps the cookies retain their shape while baking, giving them the perfect texture and preventing them from spreading too much.