
 Mark
Mark
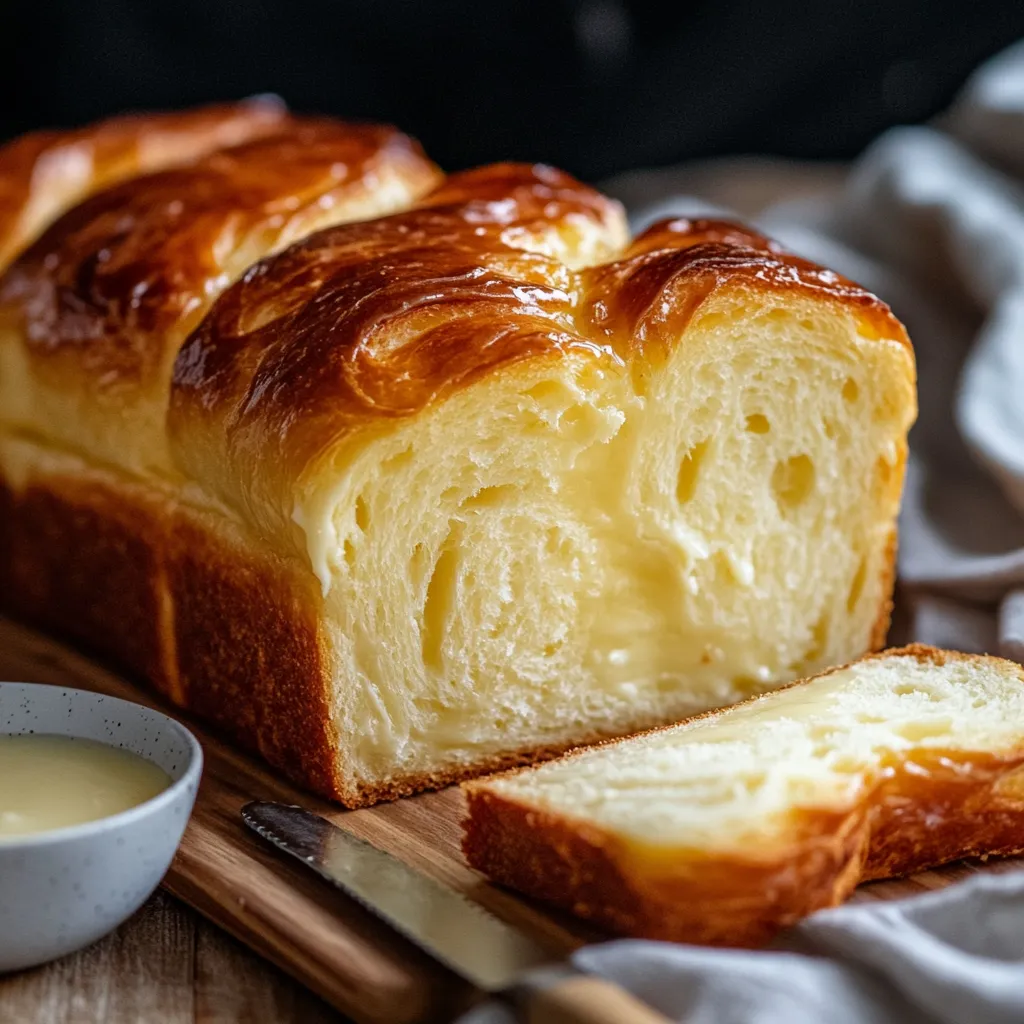
This condensed milk bread recipe creates the softest, most pillowy homemade bread you'll ever taste. The sweetened condensed milk adds a subtle sweetness and richness that transforms ordinary bread into something truly special. Whether for breakfast, sandwiches, or just snacking, this bread will quickly become a family favorite.
I first made this bread when looking for something special to serve at a family brunch. The moment everyone took their first bite, eyes widened with delight. Now this bread is requested at every holiday gathering.
Ingredients
- All-purpose flour: Provides the perfect structure while keeping the crumb tender
- Active dry yeast: Ensures proper rise and that characteristic yeasty flavor
- Warm milk: Activates the yeast and adds moisture to the dough
- Sweetened condensed milk: Is the secret ingredient that gives this bread its unique flavor and tender texture
- Large egg: Enriches the dough and contributes to its golden color
- Unsalted butter: Adds richness and creates those beautiful layers
- Salt: Enhances all flavors while controlling yeast activity
- Extra condensed milk and butter: For the optional glaze that takes this bread to the next level
Step-by-Step Instructions
- Activate the Yeast:
- Combine warm milk around 110°F with the active dry yeast in a small bowl. The temperature is crucial here. Too hot will kill the yeast, too cool and it won't activate properly. Let this mixture sit for 5 to 10 minutes until it becomes foamy and fragrant, which confirms your yeast is alive and ready to work.
- Create the Dough Base:
- In a large mixing bowl, whisk together the flour and salt to ensure even distribution. This step prevents salt from directly contacting the yeast, which could inhibit its activity. The flour should be at room temperature for best results.
- Combine All Ingredients:
- Add your foamy yeast mixture, sweetened condensed milk, egg, and softened butter to the flour mixture. Mix everything together until a shaggy dough begins to form. The dough will seem slightly sticky at first thanks to the condensed milk, but this is exactly what you want.
- Knead to Perfection:
- Knead the dough either by hand on a lightly floured surface or with a stand mixer fitted with a dough hook for 8 to 10 minutes. The dough will transform before your eyes from rough and shaggy to smooth and elastic. When properly kneaded, the dough should pass the windowpane test. Pull a small piece gently. If it stretches thin enough to see light through without tearing, it's ready.
- First Rise:
- Transfer your kneaded dough to a bowl lightly greased with oil or butter. Cover with a clean kitchen towel or plastic wrap and place in a warm, draft-free spot. Let it rise for about 1 hour or until doubled in size. The sweetened condensed milk provides extra food for the yeast, helping create a beautiful rise.
- Shape the Dough:
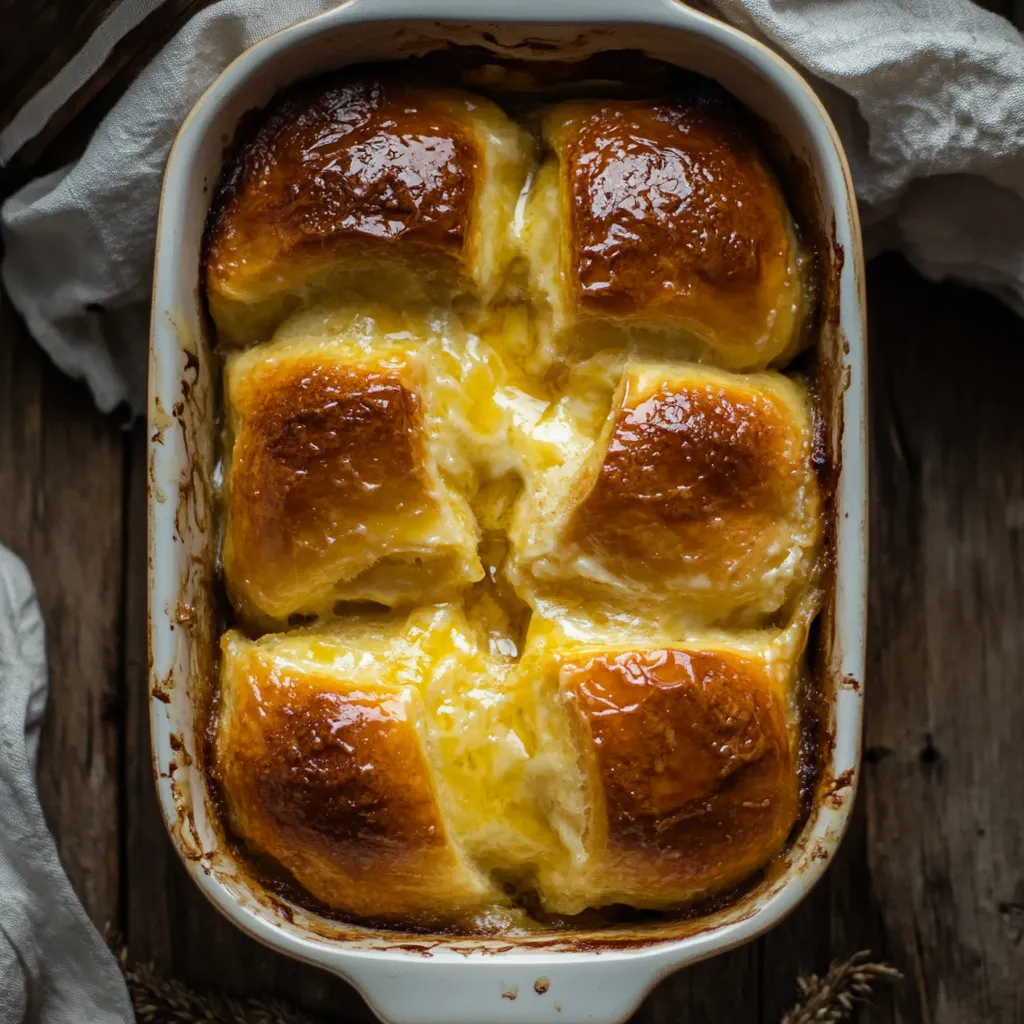
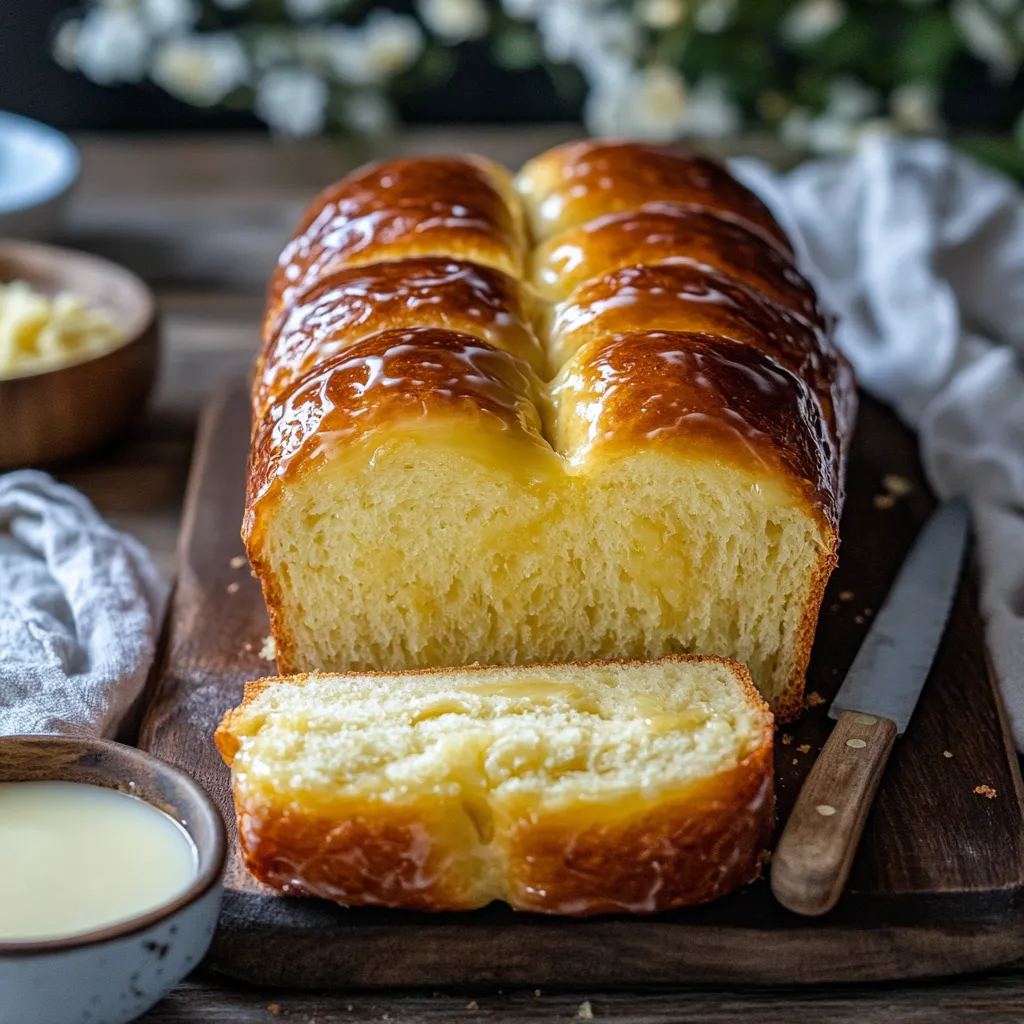
- After the first rise, gently punch down the dough to release air bubbles. Now you can shape it however you wish. For a traditional loaf, shape into an oval and place in a greased loaf pan. For dinner rolls, divide into equal portions and roll into balls. For a decorative look, braid or twist the dough before placing in your baking pan.
- Second Rise:
- Cover your shaped dough again and let it rise for 30 to 40 minutes. This second rise, called proofing, gives the bread its final light texture. The dough should look puffy and expanded, nearly filling your baking vessel.
- Bake to Golden Perfection:
- Preheat your oven to 350°F and position a rack in the middle. Bake your bread for 20 to 25 minutes, rotating halfway through for even browning. The bread is done when it has a golden brown crust and sounds hollow when tapped on the bottom.
- Final Glaze:
- For an extra touch of sweetness and shine, mix a tablespoon of sweetened condensed milk with a tablespoon of melted butter and brush over the top of the hot bread. This step is optional but adds both flavor and a beautiful glossy finish.
The sweetened condensed milk is truly the star ingredient in this recipe. I discovered its magical effect on bread texture during a baking experiment gone right. Now I keep extra cans in my pantry specifically for bread making. My grandmother always said good bread brings family together, and this recipe proves her right every time.
Questions About Recipes
- → Can I use instant yeast instead of active dry yeast?
Yes, you can! Replace active dry yeast with the same amount of instant yeast and skip the activation step with warm milk.
- → How do I know my dough is ready to bake?
The dough should be soft, smooth, and elastic after kneading. Let it rise until doubled in size before shaping and baking.
- → Can I shape the bread differently?
Absolutely! This dough is versatile, so you can make rolls, a loaf, or even braided buns depending on your preference.
- → How do I store this bread for later?
Store the cooled bread in an airtight container at room temperature for up to 3 days, or freeze for longer storage.
- → Can I add toppings or fillings to the bread?
Yes! You can add chocolate chips, nuts, or swirl in some jam or cinnamon sugar for added flavor and texture.