
 Mark
Mark
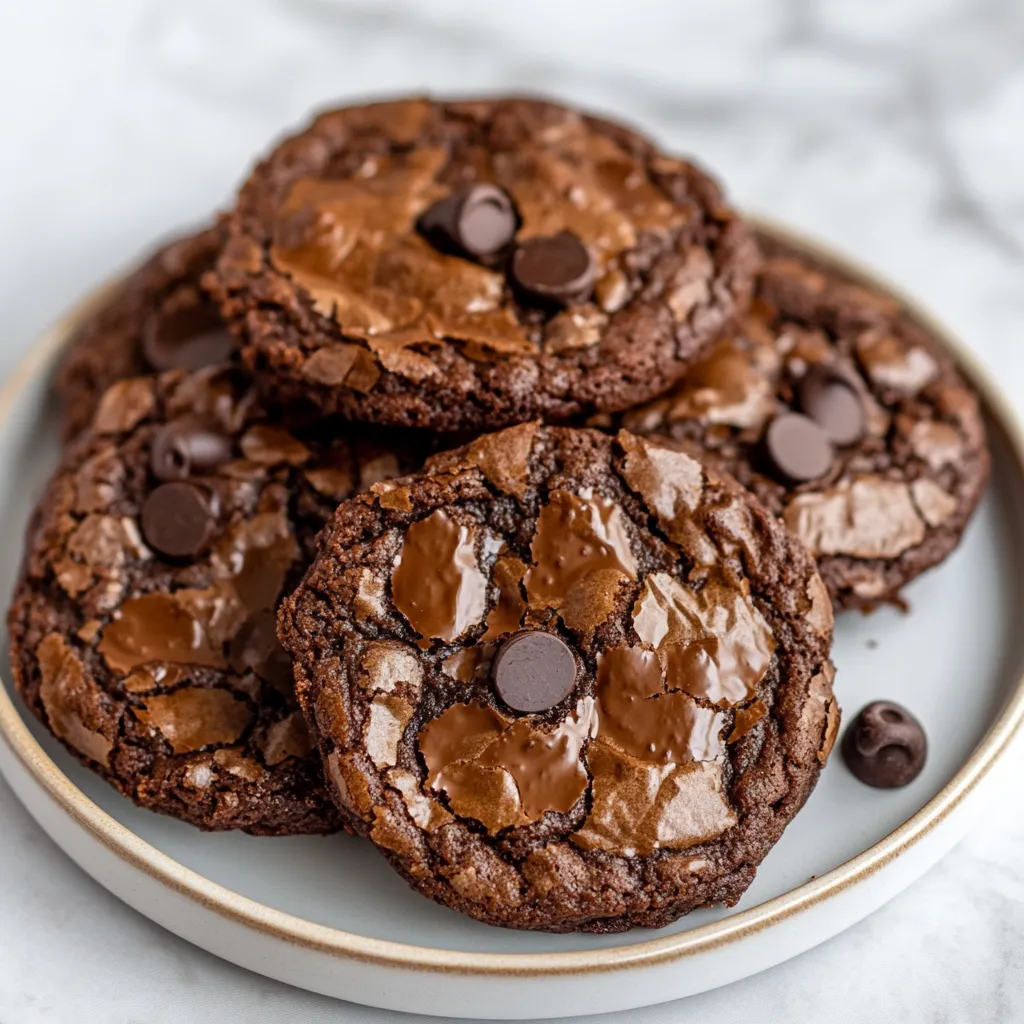
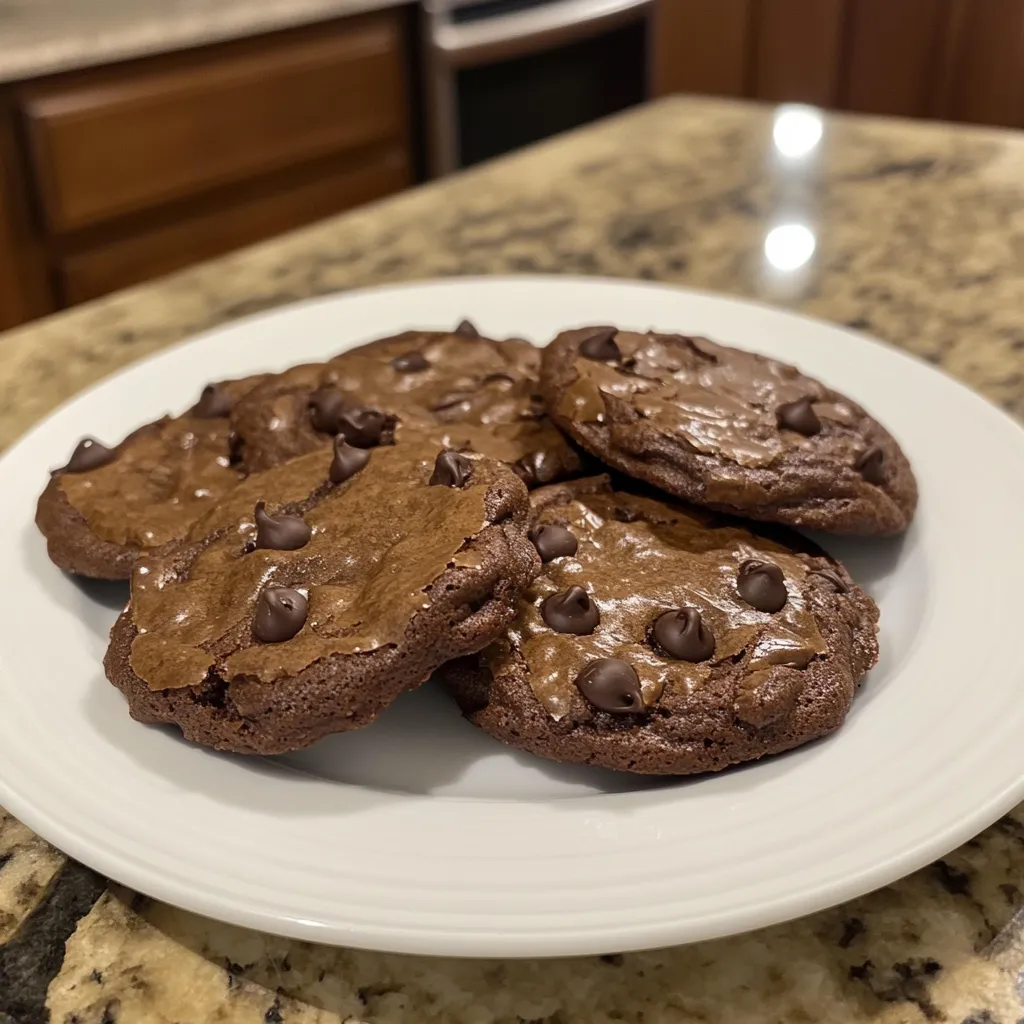
This browkie recipe transforms my classic brownies into cookie form, creating the perfect chocolate treat with a chewy texture and crackly top. These indulgent cookie-brownies have become my signature dessert for gatherings, combining the best of both worlds in one irresistible bite.
I first created these browkies when my niece requested something chocolatey but portable for her school bake sale. They became such a hit that I now make a double batch whenever family visits because they disappear within minutes.
Ingredients
- All purpose flour: Gives structure while keeping the texture tender
- Cocoa powder: Intensifies the chocolate flavor and creates that classic brownie taste
- Dark chocolate: Use high quality with at least 70% cocoa solids for the richest flavor
- Butter: Enhances richness and helps create that fudgy texture we all crave
- Room temperature eggs: Crucial for proper incorporation and creating that crackly top
- Caster sugar: Provides sweetness and helps create the crisp exterior
- Demerara sugar: Adds depth with its subtle molasses notes
- Vanilla extract: Balances and enhances the chocolate flavors
- Chocolate chips: Create pockets of melty goodness throughout each browkie
Step-by-Step Instructions
- Preheat the Oven:
- Set your oven to 160ºC with the fan on or 170ºC conventional. This moderate temperature allows the browkies to develop their signature texture without overbaking. Line your baking tray with parchment paper to prevent sticking. This step is non negotiable as these cookies tend to be quite sticky.
- Melt Chocolate and Butter:
- Create a gentle double boiler by placing your heatproof bowl over simmering water. Add your chopped dark chocolate and butter, stirring occasionally. The slow melting preserves the chocolate's flavor compounds and prevents burning. When completely smooth, add vanilla extract and stir to incorporate. Let cool slightly before the next step.
- Whip Eggs and Sugars:
- Using an electric mixer, whip eggs and both sugars on high speed for about 5 minutes. This step is critical. The mixture should become pale, voluminous, and leave a ribbon trail when the beaters are lifted. This incorporates air and creates the distinctive crackly browkie top.
- Combine Dry Ingredients:
- Sift together flour, cocoa powder, baking powder, and salt. Sifting eliminates lumps and aerates the ingredients for a lighter texture. Add chocolate chips after sifting to ensure even distribution throughout the batter.
- Integrate Chocolate Mixture:
- Pour the slightly cooled chocolate mixture into the whipped eggs, folding gently with a spatula. Move slowly in a figure eight motion, maintaining as much air as possible in the batter. The contrast between the chocolate and egg mixture creates a beautiful marbled effect before it comes together.
- Fold in Dry Ingredients:
- Add the dry ingredients to the wet mixture, folding just until no dry streaks remain. Overmixing will develop gluten and make your browkies tough instead of tender. The batter should look glossy and have a medium thickness.
- Bake the Browkies:
- Scoop generous tablespoons of batter onto prepared trays, leaving room for spreading. These expand significantly during baking. Bake for 12 to 14 minutes until the edges are set but the centers still appear slightly underdone. This ensures the chewy interior we want.
- Cool and Finish:
- Remove from oven and sprinkle with flaky sea salt if desired. The contrast between sweet and salty elevates these browkies to another level. Allow to cool on the tray for 10 minutes before transferring to a cooling rack. They will continue cooking from residual heat.

The dark chocolate is truly the star ingredient here. I discovered after many batches that using chocolate with at least 70% cocoa solids creates that intensely rich flavor that makes these so addictive. My husband, who claims not to like sweets, has been caught sneaking these from the cookie jar late at night.
Storage Solutions
These browkies maintain their freshness in an airtight container at room temperature for up to 5 days. The texture actually improves after the first day as the flavors meld together and the centers become even more fudgy. For longer storage, place them in a freezer safe container with parchment between layers and freeze for up to 3 months. Thaw at room temperature for about an hour before serving.
Perfect Pairings
Serve these browkies slightly warm with a scoop of vanilla ice cream for the ultimate dessert experience. The contrast between the warm, chewy browkie and cold, creamy ice cream creates a sensory delight. They also pair beautifully with coffee, especially a medium roast that complements the chocolate without overwhelming it. For special occasions, serve with a glass of port or dessert wine to bring out the complex chocolate notes.
Troubleshooting Tips
If your browkies spread too much during baking, chill the dough for 30 minutes before scooping and baking. This gives the butter time to firm up again. Conversely, if they don't spread enough, gently press down on the dough balls before baking. Remember that oven temperatures vary, so start checking for doneness at the 10 minute mark. They should have a crackly top but still appear slightly underdone in the center.
Questions About Recipes
- → How do you achieve the chewy texture in brookies?
The chewy texture comes from the combination of melted dark chocolate, butter, and whipped eggs with sugar, which creates a light and moist batter.
- → Can I use milk chocolate instead of dark chocolate?
Yes, you can use milk chocolate, but dark chocolate offers a richer flavor. You can also mix both for a unique taste.
- → Why is sifting dry ingredients necessary?
Sifting eliminates lumps and ensures even distribution of cocoa powder, flour, baking powder, and salt, which gives a smooth batter.
- → What’s the best way to melt chocolate and butter?
Using a heatproof bowl over simmering water is recommended to avoid overheating and seizing the chocolate. Stir gently while melting.
- → How should I store leftover brookies?
Store brookies in an airtight container at room temperature for up to 3 days. For longer storage, freeze them in a zip-top bag.