
 Mark
Mark
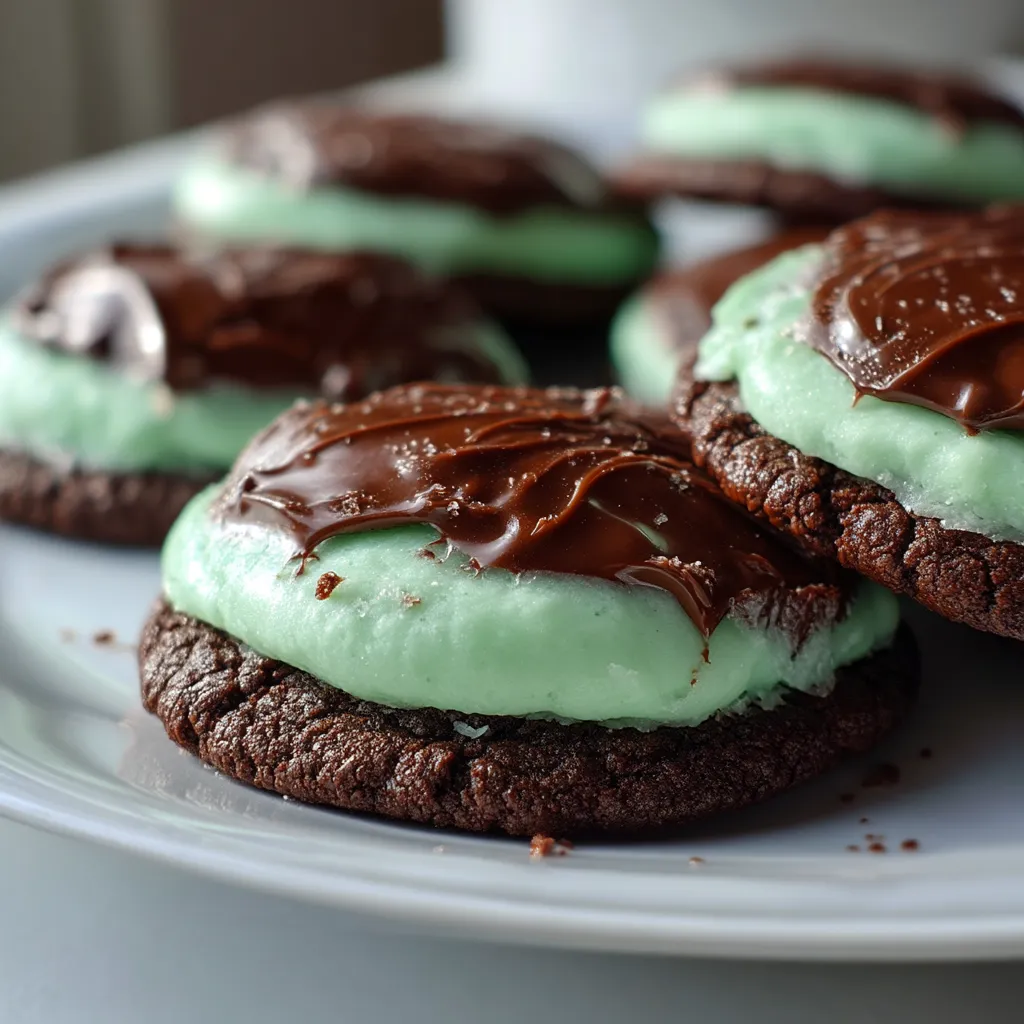
This chocolate mint cookie recipe has been my secret weapon for impressing guests at holiday gatherings for years. The combination of chewy chocolate cookie base, creamy mint frosting and rich chocolate ganache creates an irresistible treat that disappears within minutes whenever I serve them.
I first made these cookies for a Christmas cookie exchange and they were such a hit that I now make a double batch every holiday season. My children have started calling them "Grinch cookies" because of the vibrant green frosting layer.
Ingredients
Chocolate Cookies
- Unsalted butter: adds richness and helps create that perfect chewy texture
- Granulated sugar: provides sweetness and helps create those slightly crisp edges
- Vanilla extract: enhances the chocolate flavor without competing with the mint
- Egg: acts as a binder and adds moisture to the cookies
- All purpose flour: creates the structure for these cookies use a kitchen scale for perfect results every time
- Unsweetened cocoa powder: gives these cookies their deep chocolate flavor use Dutch processed for best results
- Baking soda: helps the cookies rise slightly while maintaining chewiness
- Salt: balances the sweetness and enhances all the flavors
Mint Frosting
- Powdered sugar: creates a smooth consistency without grittiness
- Unsalted butter: gives the frosting stability and richness
- Milk: helps thin the frosting to the perfect spreading consistency
- Mint extract: provides that signature flavor start with less and add more to taste
- Green food coloring: makes these cookies visually striking but completely optional
Chocolate Ganache
- Semisweet chocolate chips: provide the perfect balance of sweetness and bitterness
- Oil: helps create a smoother ganache that sets beautifully without being too hard
Step-by-Step Instructions
Prepare the Cookie Base
- Creaming:
- The butter and sugar properly is crucial here. Take your time during the 3-4 minute mixing process as this incorporates air into the dough which gives the cookies their perfect texture. The mixture should be noticeably lighter in color and fluffier when properly creamed.
Mix the Dry Ingredients
- Mixing:
- When adding the flour mixture to the wet ingredients, mix just until combined. Overmixing will develop too much gluten resulting in tough cookies. The dough should come together easily and be tacky but not overly sticky when properly mixed.
Shape and Bake
- Rolling:
- Roll the dough into balls that are approximately 1¾ inches in diameter for perfect portion control. The key to these cookies is watching them carefully while baking. You want to remove them when the centers are still slightly glossy but the edges are set. This ensures a chewy rather than dry cookie.
Create the Mint Layer
- Frosting:
- Beat the frosting ingredients until completely smooth and creamy. Start with less mint extract and gradually add more until you reach your desired flavor intensity. The frosting should be thick enough to hold its shape but spreadable. Take time to spread it evenly for a professional looking result.
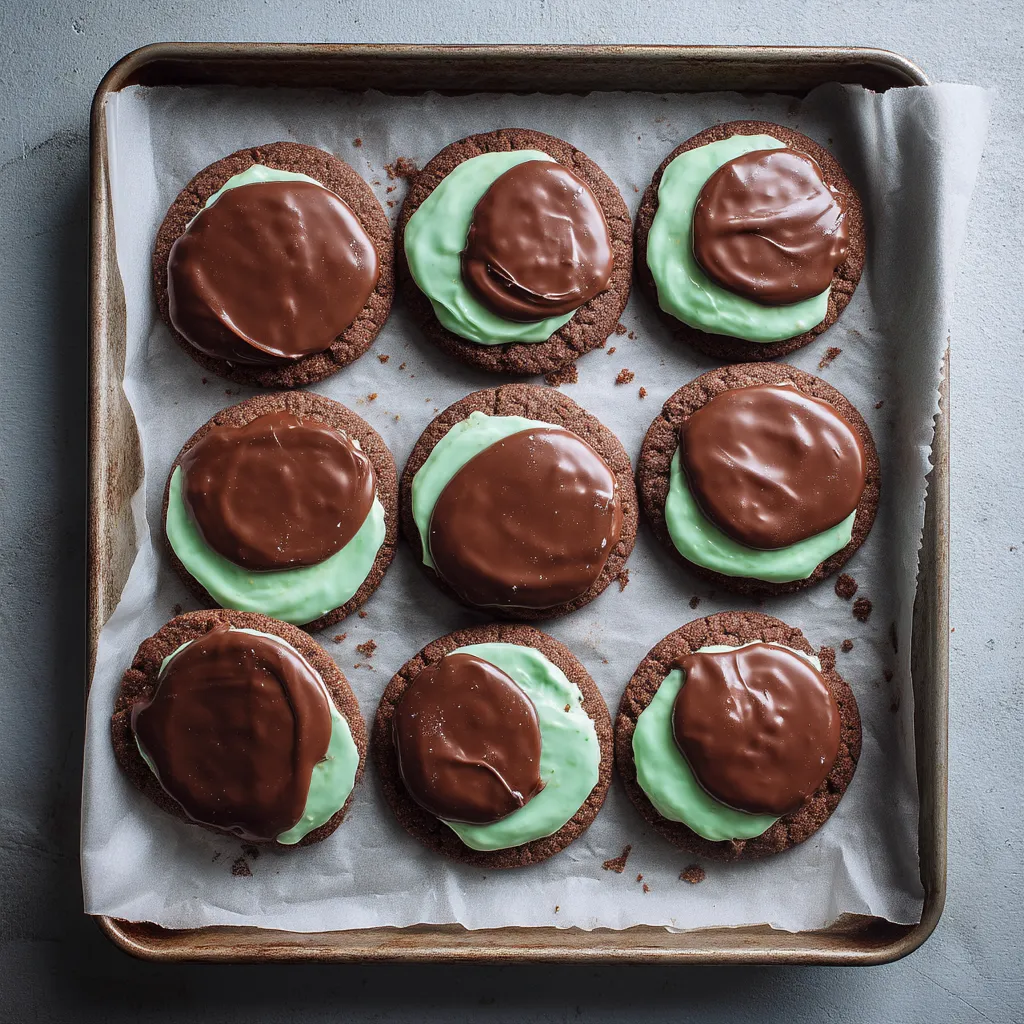
Finish with Ganache
- Freezing:
- The freezing step before adding ganache is absolutely essential. This prevents the chocolate from melting the frosting layer and keeps the layers distinct. When adding the ganache, work quickly and start from the center of each cookie allowing it to spread naturally toward the edges.
My favorite thing about this recipe is how the three distinct layers create both visual interest and textural contrast. I once served these at a neighborhood holiday party and received three requests for the recipe before the night was over. The mint intensity can be customized completely to your preference which makes them adaptable for even those who aren't typically mint chocolate fans.
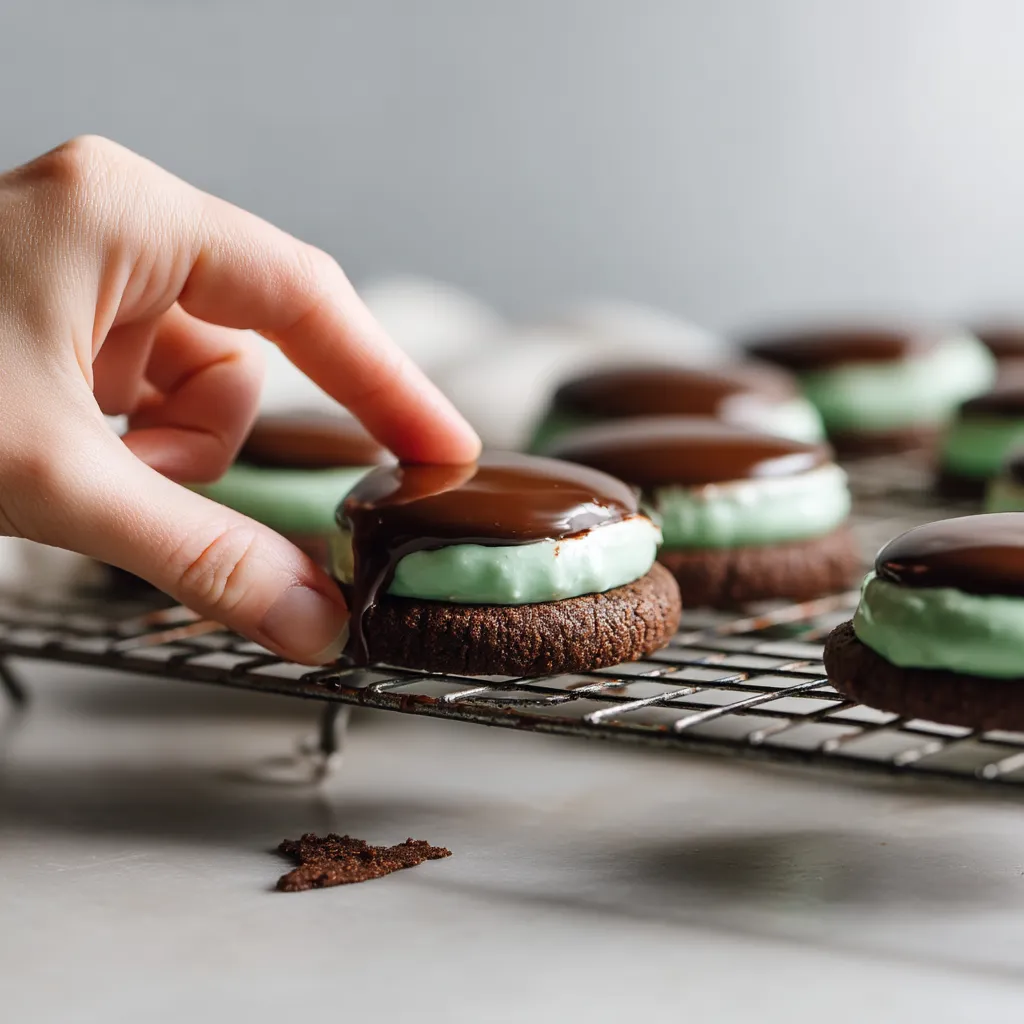
Storage Tips
For optimal freshness, store these cookies in the refrigerator in an airtight container with parchment paper between layers to prevent sticking. The cookies will maintain their perfect texture and flavor for up to a week in the refrigerator. For longer storage, these freeze beautifully for up to two months. Allow them to thaw in the refrigerator overnight before serving.
Clever Substitutions
If mint isn't your favorite flavor, this recipe works wonderfully with other extracts. Try almond extract with a drop of red food coloring for a cherry chocolate version, or orange extract with orange food coloring for a chocolate orange variation. For dairy-free guests, substitute the butter with plant-based sticks that are specifically designed for baking, and use dairy-free chocolate chips for the ganache. The texture remains remarkably similar.
Serving Suggestions
These cookies make a beautiful addition to any dessert table when stacked in small towers. For an elevated dessert experience, sandwich a small scoop of vanilla ice cream between two cookies for a mint chocolate ice cream sandwich. During the holidays, place a single cookie in a small cellophane bag tied with ribbon for an impressive homemade gift that recipients will truly appreciate.
The History Behind The Layers
The concept of layered cookies has roots in European baking traditions, particularly with petit fours and other fancy tea cakes. This American adaptation combines the popular chocolate and mint pairing that gained popularity in the mid-20th century with the classic layered dessert technique. The combination creates a cookie that feels special and elevated compared to standard drop cookies, making them perfect for celebrations and special occasions.
Questions About Recipes
- → How do you achieve the mint flavor?
The mint flavor is created using mint extract in the frosting. You can adjust the amount according to your taste.
- → Can I make these cookies gluten-free?
Yes, substituting the flour with gluten-free oat flour works well. Make sure there’s no cross-contamination.
- → How should I store the cookies?
Store the cookies in an airtight container in the refrigerator for up to a week or freeze them for up to two months.
- → Can I use a substitute for mint extract?
Absolutely! You can use other extract flavors like vanilla or almond to customize the cookies to your liking.
- → What is the best way to apply the ganache?
Allow the cookies with frosting to freeze briefly, then spoon the melted ganache carefully over the top for a neat finish.