
 Mark
Mark
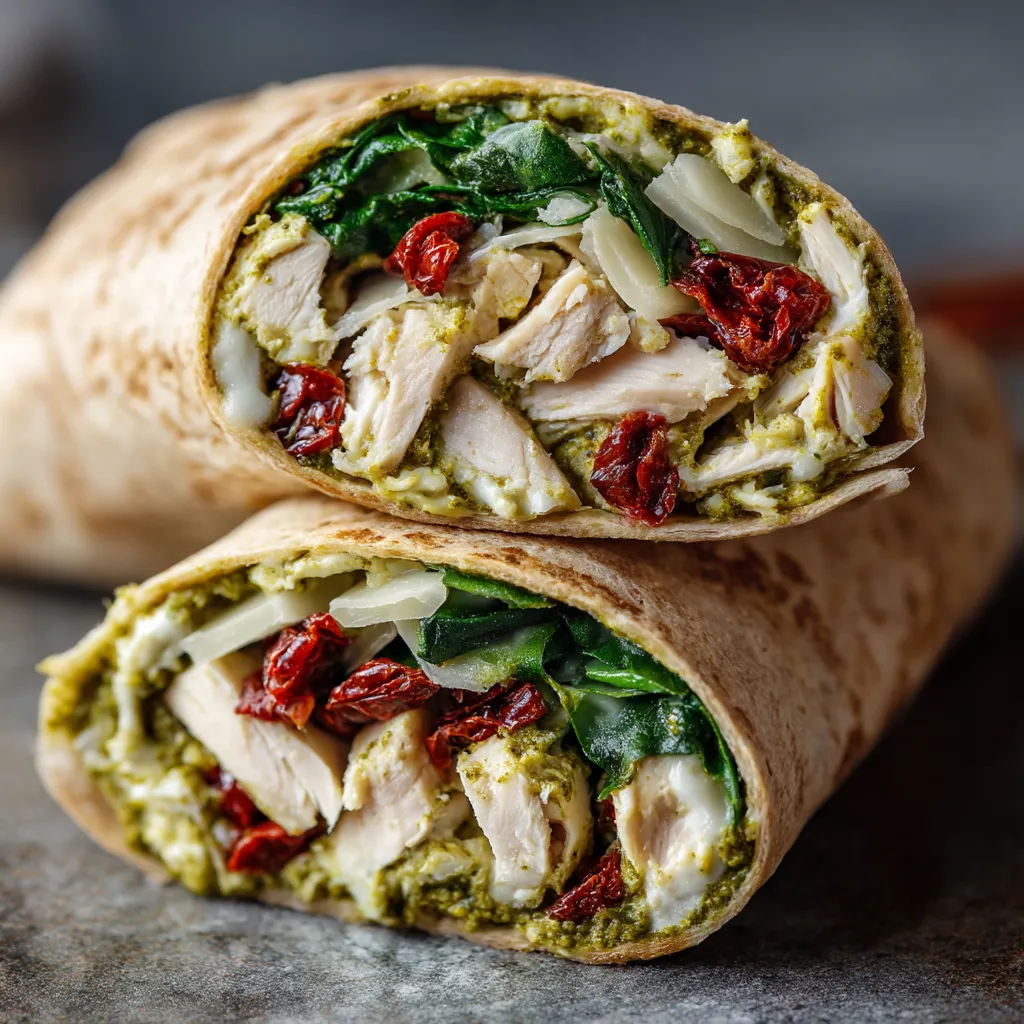
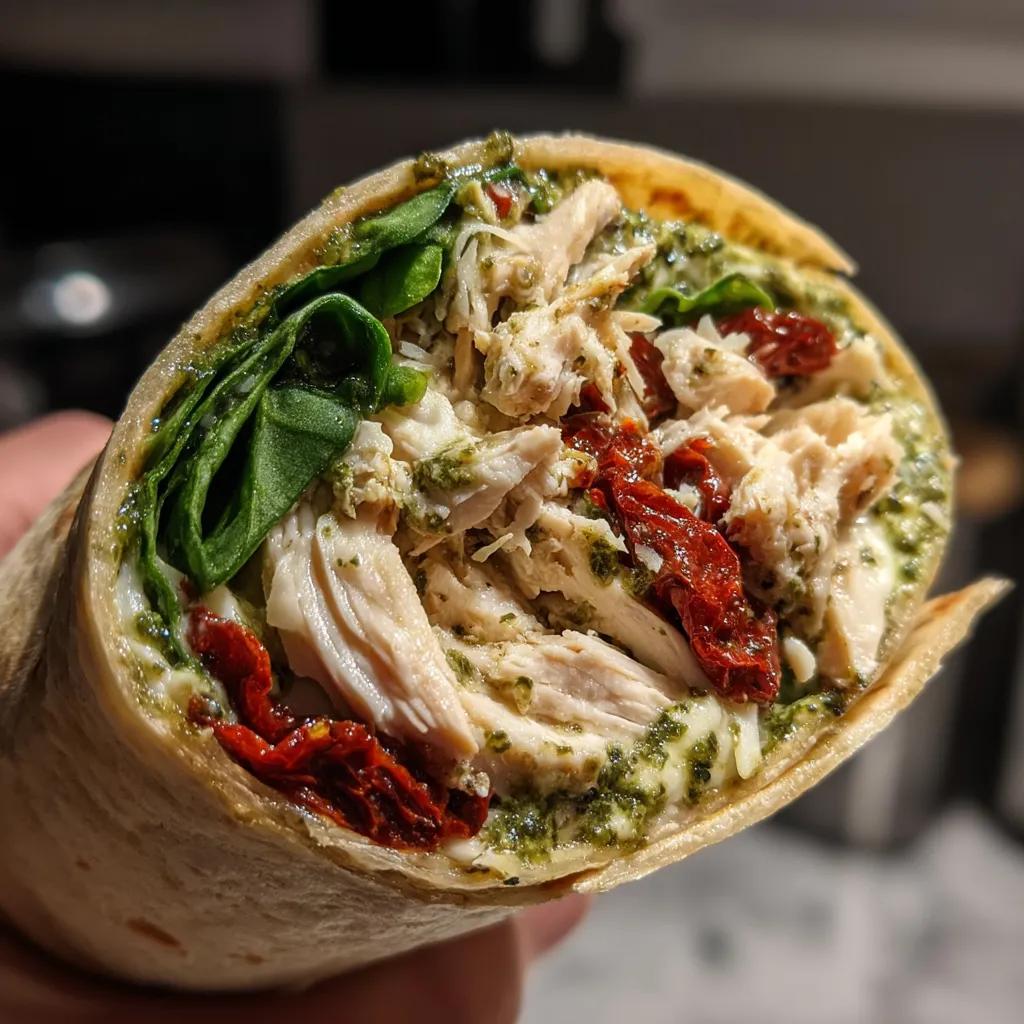
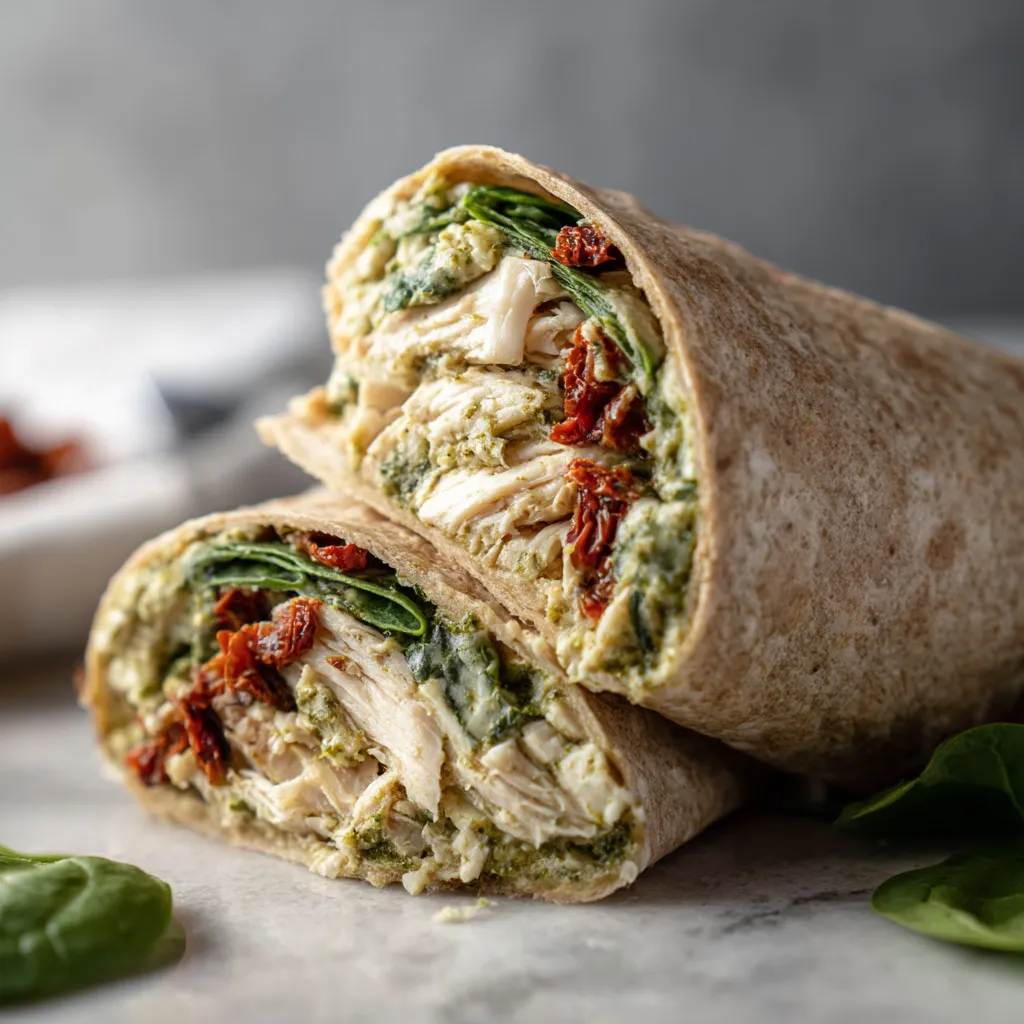
This easy chicken pesto wrap recipe transforms simple ingredients into a flavor-packed meal that works perfectly for lunch boxes or quick dinners. The combination of tender shredded chicken, vibrant pesto, and melty cheese creates a satisfying wrap that feels both indulgent and wholesome.
I first made these wraps when I needed to use up leftover rotisserie chicken, and they've since become my go-to solution for hectic days. My teenage nephew now requests them whenever he visits, claiming they're better than anything at his favorite sandwich shop.
Ingredients
- Shredded chicken breast: Provides lean protein that keeps you satisfied for hours
- Basil pesto: Delivers incredible flavor without requiring dozens of individual ingredients
- Baby spinach: Adds nutrition while blending seamlessly with the other flavors
- Sun-dried tomatoes: Bring concentrated sweetness and depth of flavor
- Mozzarella cheese: Creates that perfect melt factor that holds everything together
- Parmesan cheese: Provides that umami punch that elevates the entire wrap
- Whole wheat tortillas: Offer a nutritious base with more fiber than white alternatives
- Salt and pepper: Are essential for bringing all the flavors into balance
- Olive oil: Helps create that beautiful golden crust when grilling the wraps
Step-by-Step Instructions
- Prepare the Chicken Mixture:
- Combine shredded chicken, basil pesto, spinach leaves, sun-dried tomatoes, both cheeses, and seasonings in a large bowl. Mix thoroughly until every ingredient is evenly distributed throughout the mixture. This ensures each bite has the perfect balance of flavors.
- Assemble the Wraps:
- Place a whole wheat tortilla on a flat surface and spoon approximately one quarter of your chicken mixture onto the center. Form it into a line, being careful to leave about two inches of space around the edges. This prevents overfilling which would make wrapping difficult and cause ingredients to spill out.
- Wrap It Up:
- Fold the sides of the tortilla inward over the filling first. Then take the bottom edge of the tortilla and pull it up over the filling, tucking it under the contents slightly. Continue rolling forward with gentle pressure until you have a neat cylinder. The key is maintaining tension without tearing the tortilla.
- Grill for Extra Flavor:
- Heat a skillet over medium heat and add a light drizzle of olive oil. Place your assembled wraps seam-side down and grill for about 2-3 minutes per side. Watch carefully as they turn golden brown. This step transforms good wraps into great ones by adding textural contrast and intensifying the flavors as the cheese begins to melt.
- Serve and Enjoy:
- Slice each wrap diagonally through the middle to create an appealing presentation that shows off the colorful filling. Arrange on plates alongside extra pesto for dipping or a simple side salad to complete the meal.
The sun-dried tomatoes are my secret weapon in this recipe. I discovered their magic after experimenting with fresh tomatoes, which made the wraps too soggy. The concentrated flavor and chewy texture of sun-dried varieties add so much character without compromising the structural integrity of the wrap.
Make-Ahead Options
These wraps hold up remarkably well when made in advance. Prepare them through step 3, then wrap individually in parchment paper before storing in an airtight container in the refrigerator for up to three days. When ready to eat, you can enjoy them cold or follow the grilling instructions for a warm meal. This makes them perfect for meal prepping on Sunday for easy lunches throughout the week.
Customization Ideas
The basic formula of these wraps welcomes endless variations based on your preferences or what you have on hand. Swap the chicken for turkey, rotisserie chicken, or even chickpeas for a vegetarian option. Try different greens like arugula or kale instead of spinach. Experiment with various cheeses such as provolone or goat cheese. For a Mediterranean twist, add diced cucumbers and kalamata olives. The versatility of this recipe means it can evolve with your tastes and never become boring.
Serving Suggestions
These wraps shine when paired with complementary sides. A simple tomato soup makes for a classic lunch combination during colder months. In summer, serve alongside a crisp cucumber salad dressed with lemon and dill. For a heartier meal, add a side of sweet potato fries or a small portion of pasta salad. If serving at a gathering, cut into smaller pinwheel sections and arrange on a platter with extra pesto in a dipping bowl at the center.
Questions About Recipes
- → Can I make these wraps ahead of time?
Yes! Prepare the wraps up to 24 hours in advance and store them in the refrigerator wrapped tightly in plastic wrap. For best results, grill them just before serving for a warm, crispy exterior.
- → What can I substitute for chicken?
Turkey, grilled tofu, chickpeas, or white beans work well as chicken substitutes. Adjust seasoning as needed to complement your protein choice.
- → How do I make these wraps gluten-free?
Simply substitute the whole wheat tortillas with gluten-free corn or cassava flour tortillas. Be sure to check that your pesto is gluten-free as well, as some store-bought varieties may contain additives with gluten.
- → Can I freeze these chicken pesto wraps?
Yes, these wraps freeze well for up to 3 months. Wrap each individually in parchment paper, then aluminum foil. Thaw overnight in the refrigerator and reheat in a skillet or microwave until warmed through.
- → What sides pair well with these wraps?
These wraps pair beautifully with a simple green salad, roasted vegetables, potato chips, fresh fruit, or a light soup. For a complete meal, add a side of quinoa salad or pasta with olive oil.
- → How can I make homemade basil pesto?
Combine 2 cups fresh basil leaves, 1/2 cup grated Parmesan, 1/3 cup pine nuts, 2 garlic cloves, and 1/2 cup olive oil in a food processor. Pulse until smooth, adding salt and pepper to taste.