
 Mark
Mark
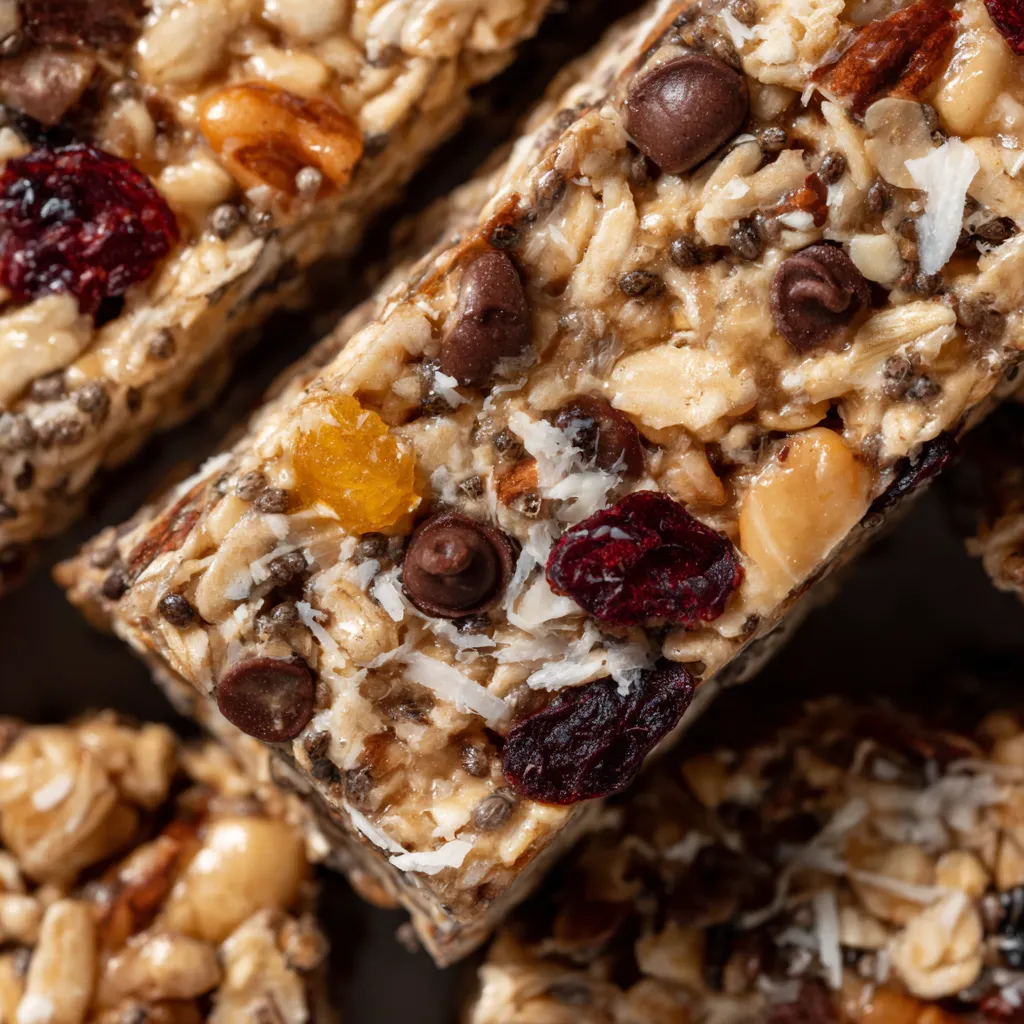
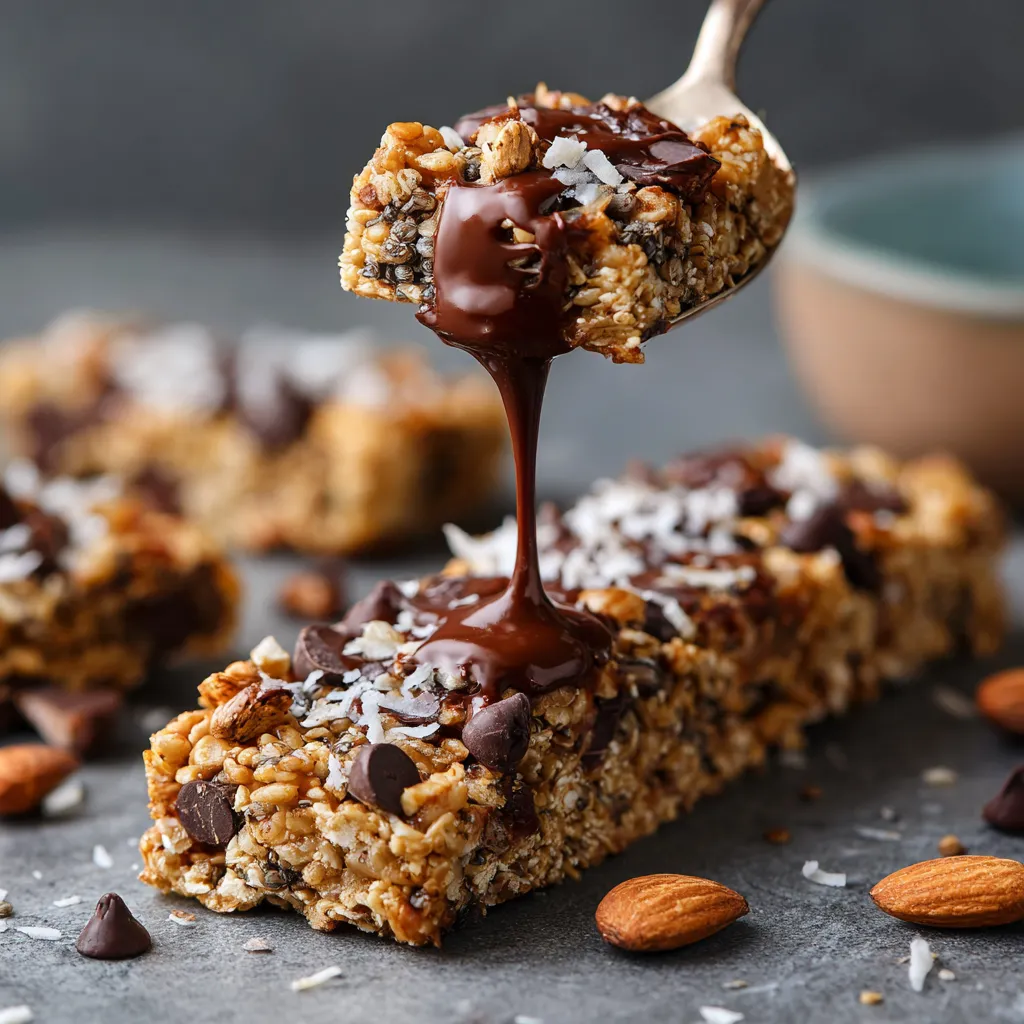
These chewy no-bake granola bars are the answer for anyone needing a healthy snack or fuss-free breakfast on busy mornings. Mixing up pantry staples and your favorite add-ins, you get something both wholesome and totally customizable. My kids call these the magic bars because we always come up with a new flavor combo based on what’s hiding in the cupboard.
Honestly these bars have rescued me on countless mornings when we are dashing out the door I first made them to use up a half-empty bag of oats and now they are a staple for school lunches
Ingredients
- Rolled oats: Adds a chewy base and fiber Look for thick-cut or old fashioned oats for best texture Use gluten-free if you need
- Nut butter: Peanut almond or cashew bring flavor and help everything stick Natural nut butters with just nuts and salt work great
- Honey or maple syrup: Sweetens the bars and holds them together Choose local honey or real maple syrup for pure flavor
- Vanilla extract: Adds warm background notes Go for pure not imitation for best taste
- Salt: Balances the sweetness and brings out the flavors Use flaky sea salt if you want a touch of crunch
- Mix-ins: Mini chocolate chips for a little indulgence Chopped nuts for crunch and protein Dried fruit for chewy sweetness Shredded coconut for tropical flair Chia or flax seeds for a nutrition boost I like to grab whatever I have handy and mix it up every time
Step-by-Step Instructions
- Prepare the Pan:
- Line a baking pan with parchment paper making sure to leave extra at the sides Curl the paper into the corners for sharp bar edges
- Mix the Dry Ingredients:
- Add oats and salt to a big bowl Stir well so the salt evenly seasons everything
- Warm the Wet Ingredients:
- In a smaller microwave safe bowl combine nut butter and honey Heat until runny and warm about thirty seconds then stir in vanilla
- Combine Wet and Dry:
- Pour the warm nut butter mixture over the oats Stir patiently until every oat is glossy with the mixture
- Add Your Mix-Ins:
- Scatter in your chosen chocolate chips nuts fruit coconut or seeds Fold gently until all are evenly mixed in
- Press Into the Pan:
- Scrape the mixture into your lined pan Use the back of a measuring cup to press very firmly on every inch Compactness helps the bars hold their shape
- Chill to Set:
- Slide your pan into the fridge for one hour or until the bars are firm to the touch This gives time for the nut butter and sweetener to bind everything together
- Slice and Store:
- Grab the edges of the parchment and lift the whole slab out to a cutting board Use your sharpest knife to cut into twelve bars Wipe the knife after each slice for crisp edges
My favorite thing is sneaking in extra seeds or little bits of dried apricot The kids never notice but it makes me feel a bit like a breakfast ninja Nothing beats the smile I get when I hand out one of these bars on a sleepy morning
Storage Tips
Keep the bars in an airtight container in the fridge and they will stay chewy for up to one week You can also wrap them individually for packed lunches or freeze them in a zip top bag for up to three months letting them thaw at room temperature before eating
Ingredient Substitutions
If you want nut free bars use sunflower seed butter and pumpkin seeds as mix-ins Maple syrup is perfect for anyone avoiding honey Swap in puffed rice for a lighter bite or swirl in a few pinches of cinnamon for a new twist

Serving Suggestions
Pair a bar with thick Greek yogurt and some fresh berries for a breakfast that keeps you full till lunch These also make great afternoon snacks or dessert after dinner Just cut smaller pieces if you want a bite size treat
Pro Tips
- Let the bars set in the fridge at least an hour so they slice cleanly
- Press down very firmly on the mixture so the bars have good structure
- Add chocolate chips after the nut butter mixture cools a bit so they do not melt everywhere
Questions About Recipes
- → Can I make these bars vegan?
Yes, substitute honey with maple syrup and use dairy-free mix-ins such as vegan chocolate chips or extra dried fruits.
- → What are the best nut butter options?
Peanut, almond, or cashew butter all work well. For a nut-free alternative, try sunflower seed butter.
- → How should I store the bars?
Store the bars in an airtight container in the refrigerator for up to one week. Individual wrapping is great for grab-and-go snacks.
- → Can I add extra flavors?
Yes, add a pinch of cinnamon, a tablespoon of cocoa powder, or experiment with various mix-ins like coconut or seeds.
- → Are these bars gluten-free?
They are gluten-free if you use certified gluten-free oats. Always double-check ingredient labels for allergens.
- → What tools do I need to prepare these?
You’ll need mixing bowls, measuring cups/spoons, a microwave or saucepan, an 8x8-inch pan, parchment paper, and a spatula.